
- Like
- SHARE
- Digg
- Del
- Tumblr
- VKontakte
- Flattr
- Buffer
- Love This
- Save
- Odnoklassniki
- Meneame
- Blogger
- Amazon
- Yahoo Mail
- Gmail
- AOL
- Newsvine
- HackerNews
- Evernote
- MySpace
- Mail.ru
- Viadeo
- Line
- Comments
- Yummly
- SMS
- Viber
- Telegram
- JOIN
- Skype
- Facebook Messenger
- Kakao
- LiveJournal
- Yammer
- Edgar
- Fintel
- Mix
- Instapaper
- Copy Link
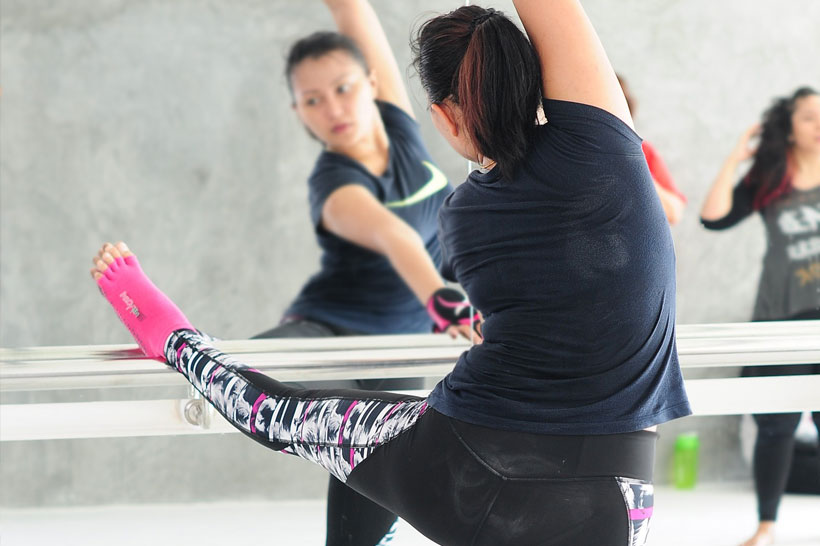 If you want to practice ballet from the comfort of your home, the good news is that it’s possible. Then the question of what ballet bar you should use comes into the picture. Both fixed and portable bars have their upsides and downsides, and they are suitable for various situations.
Take an example of where you have a spare room but cannot fully transform it into a dance studio as it also serves other purposes. Here, you can have a portable barre which you can bring out when you want to work up a sweat.
Portable ballet barres have been shown to enhance not only balance but also the physique as a whole as they push you to work hard. They are further better for beginners as opposed to fixed barres which allow for ‘cheating.’ As long as the base allows for equal distribution of weight and is not too wide to get rid of the ‘tippy’ effect, a portable barre should serve you well.
So, how can you make one, though? Here’s how!
A Simple Four Step Guide to Make Your Own Ballet Barre
Making your own ballet bar for fitness isn’t as difficult as it may seem. In fact, you can create one even if you aren’t Mr. or Ms. DIY. Here are some handy tips and steps to help you out…
Step 1: PVC Pipe
Based on the information on this useful blog, making a portable ballet barre is a breeze if you follow the instructions as stated. Not only is it a chance to create something that will better your dance moves, but it is also an opportunity to improve your skills regarding DIY. You will need posts for your ballet bar and this; you will use PVC pipes. Start by cutting the pipe into twelve-inch pieces as this will comprise the base of the posts.
Next, determine how tall you want the barre to be. Ideally, it should be in line with your waist measurements, and often, adults use anything from thirty-six inches. Based on what you would like, cut two pieces as per your decision. While doing so, you may want to cut off some height from the two parts as the length of the base and joint pieces will add some breadth to them.
The items before you at this point are enough to make a single ballet bar. However, if you want to make a double barre, it is possible. Take an example of a situation where you would wish to have a double barre that boasts of two differing heights. In this case, you would need four sections of the pipe coupled with two extra cross joints. In the end, you would end up with the height that you wanted.
Step 2: The Barre
It is now time to make the barre, and for this, you can use many materials, depending on what you like best. Some people use closet rods; others prefer wooden dowels while others feel most comfortable with PVC pipe. As you cut your preferred material to your chosen length, it is important to note that some of the length will get absorbed in the joints during the assembly. As such, having some added length would not hurt.
If you plan on making a double barre with differing heights, you should note that you will need two lengths of the barre.
Step 3: The Joints
You can then head to the store for some PVC joint pieces, once you have finished cutting your lengths. Ensure that the connections are of the same diameter as your barre. You will require six ninety-degree elbow joints as well as two three-holed cross joints. Where you plan on having a double barre, be sure to grab two extra cross joint parts.
Step 4: The Assembly
It is now time to bring all the pieces together. Start by connecting the twelve-inch sections with a cross joint in the middle before adding the elbow pieces towards the end. Take the height piece of your barre and insert it into the cross piece as this will enable you to complete the first post. Do the same with the other part to make the second post.
Where you are making a single barre, you can now attach your wooden dowel/ PVC to the top of your finished posts using the elbow joints present at each end. If you are working on a double barre, you can attach the dowel/ PVC. Do the same for your top bar. For the lower one, connect it with cross pieces to your posts before placing the second post into the cross pieces present on both ends.
Final Touches
Your ballet barre is pretty much complete at this point, but it doesn’t hurt to have some additional features in play. Having some foam at the feet greatly aids in ensuring that the bar stays steady and that it does not scratch the floor as you dance. You can use rubber or another suitable material for this and stick it at the base of the feet, at the point where the elbow joint meets the floor. Do not worry about overlapping as this will only add to the protection provided by the foam. Some glue will come in handy during the affixing. All the best!
Author Bio:
Born in 1971, in Farmington, MI, Jessica grew up in a warm family environment. Her father is an Electrical Engineer and Inventor, and her mother is a Veterinarian, with two siblings and a very large backyard. Jessica runs her own blog where she writes about different home appliances.
About Shannon Clark
Shannon holds a degree in Exercise Science and is a certified personal trainer and fitness writer with over 10 years of industry experience.