- Like
- SHARE
- Digg
- Del
- Tumblr
- VKontakte
- Flattr
- Buffer
- Love This
- Save
- Odnoklassniki
- Meneame
- Blogger
- Amazon
- Yahoo Mail
- Gmail
- AOL
- Newsvine
- HackerNews
- Evernote
- MySpace
- Mail.ru
- Viadeo
- Line
- Comments
- Yummly
- SMS
- Viber
- Telegram
- JOIN
- Skype
- Facebook Messenger
- Kakao
- LiveJournal
- Yammer
- Edgar
- Fintel
- Mix
- Instapaper
- Copy Link
 No time for a yoga session? Take a few minutes out for Surya Namaskar and indulge in a complete workout for just 20 minutes. Avail the opportunity to learn the series in an authentic manner during Yoga Teacher Training in Rishikesh, India.
Well, who doesn’t want to stay fit? But at the same time there’s no denying the fact that many of us have no or less time to invest an hour or two in any kind of self-care. Daily workout is needed amidst a hassled lifestyle, but isn’t really possible when we spend most our time in the office or commuting for long hours.
Here comes in Surya Namaskar or Sun Salutation to the rescue.
Sun and Surya Namaskar
According to Hindu Methodology, Sun is the ultimate source of life on the planet and is believed that an element of the Sun is present in everything- the air we breathe, the food we eat, the water we drink, etc. For centuries, people have bowed and offered prayers to the Sun – as it has been worshiped as God. The practice turned out to be really beneficial making the body, mind, and soul healthy.
Surya Namaskar is a complete workout for the physical body that helps to internalize the inner Sun reaping all the benefits of the practice. The regime is about showing your gratitude towards the source of life through 12 different postures.
Yoga Regime for Busy Bees
Indeed, Sun Salutation is the wholesome workout for busy bees doing wonders to their health. With regular practice, acquire a lot of benefits that too in just a few minutes. One round of Surya Namaskar consists of 12 poses, and one set consists of two rounds which mean repetition of the same pose twice (in total 24). If you practice 12 rounds, you’ll be doing around 288 poses in just 12-15 minutes covering- cardiovascular workout, muscle toning, crunches, chest opening, body flexibility, and much more. Sun Salutation is good for us in every way and ensures a proper and healthy functioning of the body and mind.
Why the 12 Poses?
The 12 poses of Sun Salutation is designed to sync the body cycle with the inner solar cycle to maintain the level of vibrancy and liveliness that helps in manifesting the entire being that works as a stepping stone to higher conceivable outcomes. Sun holds great significance religiously and now scientifically as well with proved healing powers and enormous health benefits.
12 Poses Explained and Their Health Benefits
1. Pranamasana
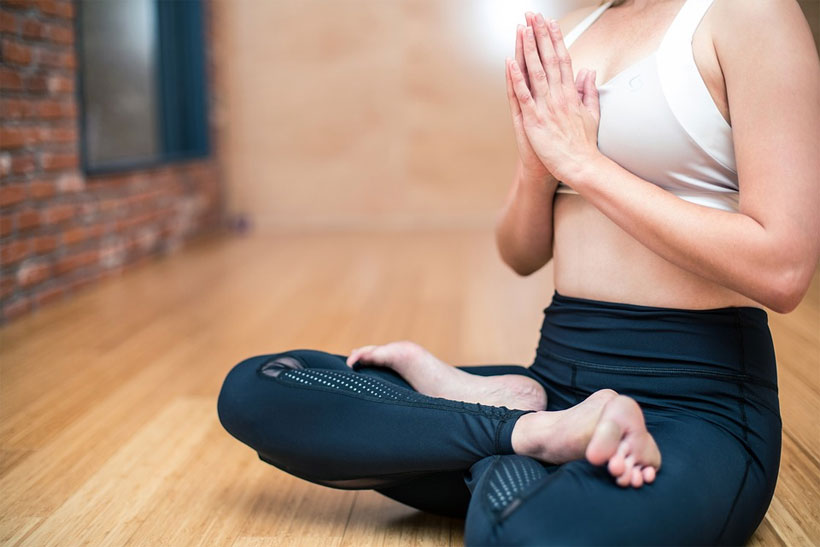
Also known as the prayer pose, Pranamasana is the first pose of Surya Namaskar series where you will be standing straight on the mat with feet aligned closely. Breathe in deeply, raise your arms from the side, and breathe out while joining the palms together in Anjali Mudra.
Benefits: Relaxes the mind and soul, brings awareness, enhances posture, balances the body and mind, refuels energy, stretches the muscles, strengthens the nervous system, improves digestion, and opens the heart chakra.
2. Hasta Uttanasana
Now keep the palms joined, inhale and then lift your arms upwards and slightly bend backward. Your upper arms or biceps lie close to your ears and hold the pose for a while.
Benefits: The pose loosens up the body by stretching it backward, improves digestion, tones muscles, stimulates abdomen region, enhances lung capacity, and more.
3. Hasta Padasana
Exhale and bend forward folding from the hip joint. Reach down and touch the floor or your feet keeping the spine straight.
Benefits: Stretches the muscles, warms up the body, increases circulation, revitalizes the nervous system, tones the abdominal organs, and enhances spine agility.
4. Ashwa Sanchalanasana
Inhale and now stretch the right leg back as far as possible, and fold the left knee and place it close to the left part of the chest. Keep the hands on the floor, look upward, and bend the neck backward slightly.
Benefits: Packed with physical benefits, the pose increases leg flexibility, stretches the spine, strengthens the knee and ankles, tones the muscles, enhances lung capacity, opens the hips, chest, and groin, etc.
5. Dandasana
Breathe in, stretch the left leg behind bringing the body in a straight line, and ensure that it is straight and parallel to the floor.
Benefits: Tones the wrist, arms, and legs, prepares you for challenging arm balancing poses, keeps legs and arms active, removes body sluggishness, strengthens the leg and back muscles, lengthens the spine, broadens the shoulders and chest, and stretches the hamstrings.
6. Ashtanga Namaskara
The pose is about giving salutation using the eight limbs or eight parts of the body. After staying in Dandasana, you need to bring the knees down towards the floor gently and exhale. Now place the chin and chest on the floor to rest, keep hips elevated in the air, hands and feet should also be on the floor, and raise the abdomen high.
Benefits: Strengthens the chest muscles and hands, enhances the flexibility of the neck and spine, improves body balance and coordination, and strengthens the body to perform deeper poses.
7. Bhujangasana
Transit from the above pose to Cobra pose by tucking the elbows to the side of your body and press the palm gently on the mat. Lift the chest and head off the ground, and rotate the shoulder blades keeping it away from the ear backwards. Arch the neck backward gently, set the gaze upward, and hold the pose for a while.
Benefits: Eases headache and backache, stretches the muscles, relieves back stiffness, enhances flexibility, stimulates abdomen region, elevates mood, improve menstrual irregularities, strengthens the spine, and soothes sciatica, eases asthma symptoms and lots more.
8. Parvatasana
Now transform from Bhujhanasana to Parvatasana or Adho Mukha Savasana by elevating hips upward, keeping the heels on the ground, and make an inverted V with your body. The pose is packed with multiple benefits.
Benefits: Relieve stress, improve posture, enhance circulation, good for respiration, tones spinal nerves, strengthens the chest muscles increasing lung capacity, makes you feel energized, etc. to name a few.
9. Ashwa Sanchalanasana
Repeat step 4 but with the opposite side, and inhale bringing the right foot forward and place it between the hands and rest your left knee on the ground fixing the gaze towards the ceiling.
10. Hasta Padasana
Repeat step 3, keeping the position of hands intact, lift the body upward, and come to the pose.
11. Hasta Uttanasana
Repeat Step 2 while inhaling deeply, stretch the arms overhead with the body, instead of backward, and keep the biceps close to your ears.
12. Tadasana
Finally, exhale, and bring the arms down and stand in a relaxed manner. You can also come back to Pranamasana.
In Conclusion
Learn the variation and modifications during Yoga Teacher Training in Rishikesh, India.
Practice the steps regularly and reap the maximum benefits of this holistic workout session, adding a wodge of gratefulness towards the sun.
Author Bio:
Bipin Baloni is a passionate Yogi, Yoga Teacher and a Traveller in India. He organize 200 hour Yoga Teacher Training in Rishikesh. Bipn Bsloni conducts Yoga Teacher Training in India in different cities. He loves writing and reading books related to yoga, health, nature, Himalayas and Trekking in India.

